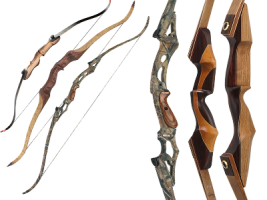
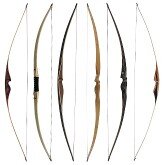
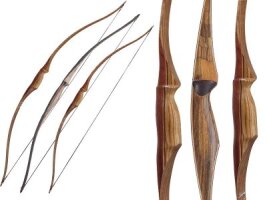
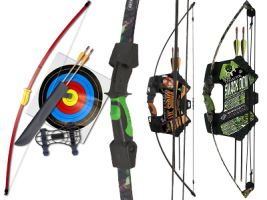
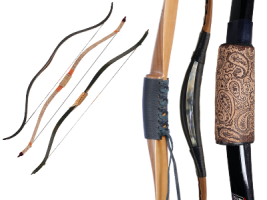
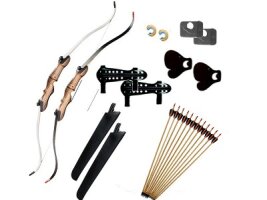
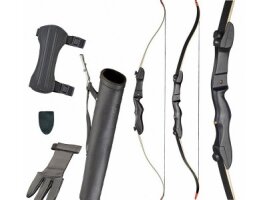
Bow making - All materials and courses can be found here!
Are you fascinated by the history of the bow and bow making? Is archery, especially with classic wooden longbows, one of your favourite hobbies? Great, you already fulfil the requirements for building your own bow. In addition to the necessary materials, which you can get here, building a high-quality and beautiful bow also requires an enthusiasm for bows and arrows. You also need expert instructions or, if you have already built a bow yourself, possibly tips and tricks. You can find these on the internet or in books on the subject. For beginners, we recommend attending one of the bow-making courses offered by archery-shop.co.uk.
First things first: the right wood for bow making
Throughout history, numerous peoples on all continents have made their bows for hunting or fighting from different types of wood ? in Europe, yew was the favourite for a long time, while in Africa bows were made from bamboo simply because of the geographical conditions. Nowadays, many bow makers favour ash, whose wood is both heavy and impact-resistant, making it suitable for both wooden bow making and the production of arrows. However, it is important to use late wood.
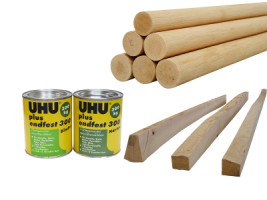
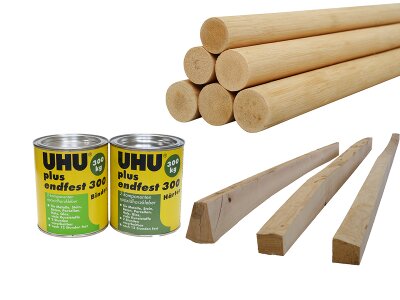
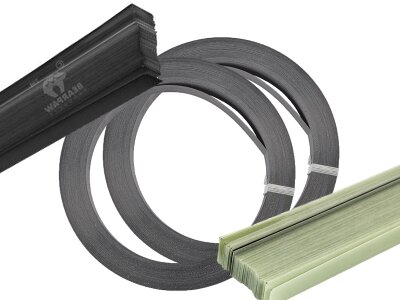
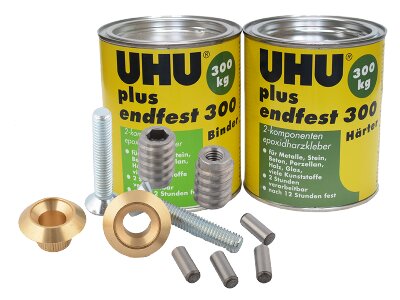
That is why the various ash blanks for risers and limbs have been stored at BogenSportWelt for at least three years. Laminates are glued for the outer covering of the bow, plus various other accessories, which you can also get directly from us as a set. Special glue with high adhesive strength is suitable for gluing.
If you are willing to invest time and effort in bow making and learn the necessary skills, nothing stands in the way of building your own bow. Start with simple projects and then gradually work your way up to more challenging bows.
There are various aspects that you should consider. These include, among others:
Experience: If you have never built a bow before, it might be helpful to try simple bows first before attempting more complex projects. Experienced bow makers often have years of practice behind them. Knowledge: Bow making requires knowledge of different types of wood, techniques, tools and safety aspects. Studying books, instructions and online resources can help.
Patience : Bow making is a time-consuming process, and it may take a few tries before you make a bow that works well. Patience is an important characteristic.
Help from experts: It can be helpful to seek advice or instruction from experienced bow makers. They can offer valuable tips and guidance.
Purpose of the bow: Think about what you want to use the bow for. If you plan to use it for hunting or sporting activities, you should make sure that it complies with local laws and safety standards.
You will need the following things to start making your bow:
Bow blank: You will need a suitable blank, also known as a bow stave, which can be made of wood, bamboo or fibreglass.
Saw: A saw is needed to cut the blank to the correct length.
Rasp and files: These tools will help you to shape the blank to the desired form.
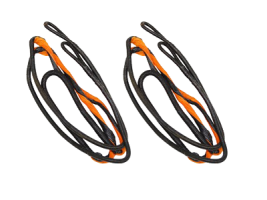
String: A suitable string made from materials such as Dacron or Fast Flight is required.
Tension string: String or rope to attach the bow to the bow.
Workbench or vice: These make it possible to securely fix the bow blank.
Carving knife: For fine sanding and working on details.
Sandpaper: For smoothing and polishing the surface of the bow.
Tool for making nocks and notches: A Dremel or similar tool can be useful here.
The following types of wood are well suited to building a bow:
Ash: A favourite wood for bows due to its strength and flexibility.
Hickory: Also very popular due to its strength and toughness.
Yew: Historically one of the best woods for bows.
Osage Orange: Known for its high elasticity and durability.
Bamboo: Lightweight yet strong, often used in combination with other materials.
Bow making involves various techniques with which you work out your bow from your blank or bow stave. In addition to basic craftsmanship such as arrows and sawing, you should also know the following:
Laminating: The bonding of different layers of wood or other materials to increase strength and flexibility.
Bending: The bending of the bow into the desired shape.
Tips and notches: The carving of tips and notches into the bow to securely attach the string.
Tilling: A work step in which the bow is slowly drawn out more and more. The bend is constantly checked and corrected if necessary.
It is important to note that bow making is an art and a craft that requires practice and experience. It can be helpful to ask an experienced bow maker for advice or to attend courses to learn the techniques and understand safety aspects.
You can determine the correct bow length using your draw length or body size. This depends on what kind of bow you want to build. The draw weight should be adapted to your experience to ensure good technique and shooting performance. A bow that is too heavy can also lead to injuries.
- Select the bow blank: Choose a straightness, dry blank. The type of wood and length will depend on your preference and ability. A typical beginner's bow is about 1.80 metres (6 feet) long.
- Cut the bow blank to size: Use the saw to cut the bow blank to the desired length. Leave about 5 to 7.5 cm (2 to 3 inches) at the ends for the nocks.
- Flatten the bow blank: Use the rasp or file to evenly round the blank and smooth the surface. This is called "tillering" and helps ensure that the bow bends evenly.
- Shape the bow: Draw the desired bow shape on the bow blank with a pencil. A simple flat bow has a constant width along its entire length. Now start working the bow out of the bow blank.
- Create tips and notches: Carve tips (the limbs) at both ends of the bow to attach the string. You can carve a notch in the centre of the bow to guide the string during shooting.
- Bend the bow: Fix the bow blank securely in a vice or workbench. Carefully begin to bend the bow by applying even pressure. Check regularly whether it bends evenly (tillert) and adjust if necessary.
- Attach the string: Attach the string to the nocks and notch of the bow. The string should be taut but not overly cocked.
- Polish the bow: Use sandpaper to smooth and polish the surface of the bow.
- Test and adjust: Carefully test the bow to make sure it draws and shoots smoothly. If necessary, make adjustments to the fletching.
The time varies depending on the experience and complexity of the bow. A simple bow can be built in a few days, while a complex, laminated bow can take weeks or even months.
Keep your bow dry and store it in a cool, dry place. Check the bow regularly for cracks or signs of wear. Keep the string well waxed to increase durability
Yes, some common mistakes in bow making are uneven tillering, improper drying of the wood, and inadequate safety measures when handling tools. It is important to prepare well and seek advice from experienced bow makers if you are unsure.
Yes, there are many books, online tutorials and forums dedicated to bow making. A good book or experienced bow makers in your area can be valuable resources. Bow making courses are particularly helpful. You can learn directly from the bow maker and get lots of tips.


