Individual arrow making - create your own carbon, aluminium and wooden arrows
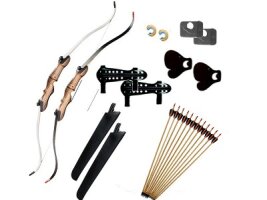
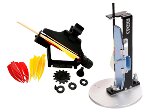
Small repairs and modifications to your own arrows - for a more stable flight or a longer range - are part of everyday life for every archer. However, only very few archers actually build their own arrows. Whether recurve, equestrian or longbow, there are suitable arrows for every type of bow. Satisfactory results can only be achieved if they are perfect and match the bow and shooting style. Do you want to go back to the roots and take arrow making into your own hands? No problem: all you need are wooden shafts, nocks, tips, feathers and a fletching device.
Arrow making basics: What is an arrow made of?
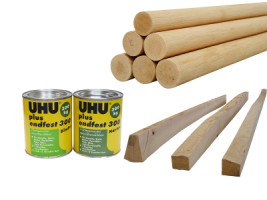
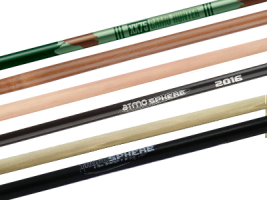
The basic element to which all components are attached is the shaft of the arrow. This can either be made from modern materials such as aluminium and carbon or, in classic arrow making, from wood. Heavy woods such as oak and ash are particularly suitable for longbows and have a stronger impact force. Light woods such as pine and spruce, on the other hand, are more suitable for short horse bows or recurve bows - their advantage: a greater range. The arrowhead is attached to the front end of the shaft and the bowyer places the approx. 10 cm long fletching area at the back and the arrow nock at the very end.
Arrow making - our step-by-step guide
There are two options for making an arrow shaft: from twigs or split wood. Alternatively, you can use ready-made shafts from our online shop. Once the shape and length have been constructed, the next step is to insert the nock. This should be approx. 1.2 cm deep and wide enough for the string to snap into place with light pressure. The slot is sawn out and finished with a narrow round file.
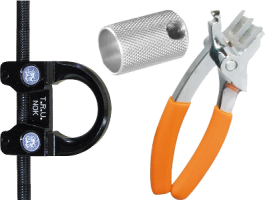
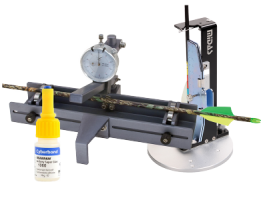
For beginners, it is a good idea to simply sharpen the shaft and attach a finished nock. The shaft is then protected against moisture with a special varnish and the feathers are glued to the arrow at a 120° angle using a fletching tool. Thanks to a professional feather punch, you can choose between different shapes. The keel ends are then wrapped with string or fitted with shrink tubing. Finally, the front part of the shaft needs to be sharpened and the tip attached or glued on.
Frequently asked questions
Making your own arrows is not easy - but it is possible. You need a lot of knowledge and skills to ensure that your bow fits you and your bow and flies perfectly.
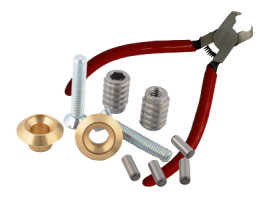
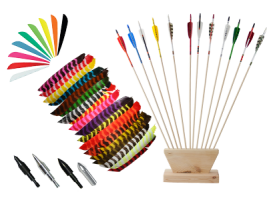
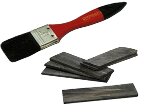
You will need various things to make arrows, such as a wooden, carbon or aluminium shaft, a nock, feathers and a tip. You will also need glue for the feathers and possibly a feather punch and a fletching tool to make it easy to build the arrow. An arrow cutter will help you cut the shaft to the right length.
The choice of arrow shaft depends on various factors such as the draw weight of your bow, your draw length, the required Spine and also the arrow weight.
To make sure you do everything right when making arrows and have a functioning arrow later on, you can follow our step-by-step instructions here:
- first prepare the arrow shafts, i.e. cut them to the correct length. You can use an arrow or pipe cutter for this.
- if you are using wooden shafts, it is best to smooth the shaft ends with sandpaper so that the nock and tip can be glued on cleanly.
- depending on whether you have chosen a screw or glue tip, glue it on with the glue or use pliers to screw it on. It should be firmly attached so that it does not get stuck when you pull it out of the target later.
- Then attach the nock. In a wooden shaft, a slot is often sawn out at one end of the shaft and finished with a dart. With carbon or aluminium shafts, the nock is glued in. It must be correctly aligned so that the arrow later lies correctly in the string. Make sure the nock is firmly seated.
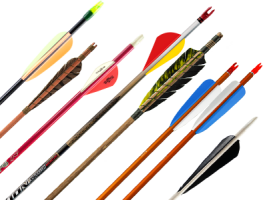
- Once the nock is attached, the feathers are attached. Here you can choose between natural or synthetic feathers. With the help of a modern fletching device, 3 feathers are usually attached to the shaft at a distance of 120°. Only cleanly attached feathers enable a clean arrow flight.
- After attaching the feathers, the keel ends are either wrapped with a string or you use a shrink tube.
The choice of arrowhead depends on the subsequent area of use. If you mainly want to shoot at Targets, for example, field tips are the right choice.
For your arrow to fly stably and safely, it is important that it is correctly balanced. This means that the weight should be evenly distributed across the arrow. A test on the shooting range will show you whether the arrow flies cleanly and stably. You may need to make adjustments to the length, weight or feathers.

